Hammer Handles and Wedges: Replacement and Care
Abana Chapter
February 24, 2024
In the world of craftsmanship and self-sufficiency, maintaining and replacing hammer handles and wedges becomes crucial for anyone aiming to build or repair with precision and durability. This article delves into the essentials of selecting the right hammer wedges, understanding hammer handle replacement, and ensuring their care - skills as foundational as the very tools they concern. Whether you're aspiring to become a chairmaker, a luthier, or simply embrace the resilience of a self-sufficient lifestyle, mastering the maintenance of your tools is a step towards achieving your goals with confidence and expertise.
Key Takeaways
Understanding how to replace hammer handles is essential for anyone involved in craftsmanship, as it ensures precision and durability in their work.
Selecting the right hammer wedges is crucial for the safety and efficiency of the tool, impacting the overall quality of the craft.
Proper care of hammer handles extends the life of the tool, saves money, and sustains the quality of work.
Following a step-by-step guide to replacing your hammer handle can simplify the process, ensuring it's done correctly.
Regular maintenance of hammer handles and wedges is key to avoiding potential tool failure and accidents.
Learning these skills contributes to a self-sufficient lifestyle and enhances the quality and satisfaction of one's craft.
Understanding Hammer Handle Replacement
When it comes to maintaining and rejuvenating your tools, replacing hammer handles and wedges emerges as a quintessential skill. Initiating this process begins with selecting the right handle material that aligns with your usage demands—common choices include wood, fiberglass, or metal, each with their own set of benefits.
Wooden handles, preferred for their shock absorption and traditional feel, often require more care to prevent splitting. On the other hand, fiberglass and metal options offer durability and less maintenance but might transfer more vibration to the user.
Here's a quick guide to figuring out when to swap your hammer handle:
Signs it's Time to Replace | Recommendations |
Cracks or splits in the handle | Replace immediately to avoid injury |
Handle feels loose in the hammerhead | Tighten or replace if necessary for safety |
Worn or softened grip area | Consider replacement for better control and comfort |
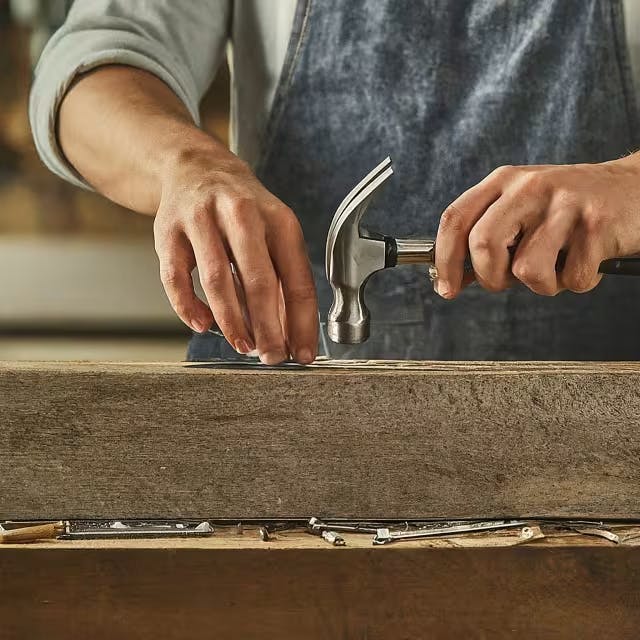
Following the right steps ensures a secure fit between the new handle and hammerhead. First, remove the old handle and any remaining wedges. Next, insert the new handle into the hammerhead, ensuring a snug fit. Then, utilize a new wedge—wooden or metal—to secure the handle in place. Finally, trim any excess handle material protruding from the top.
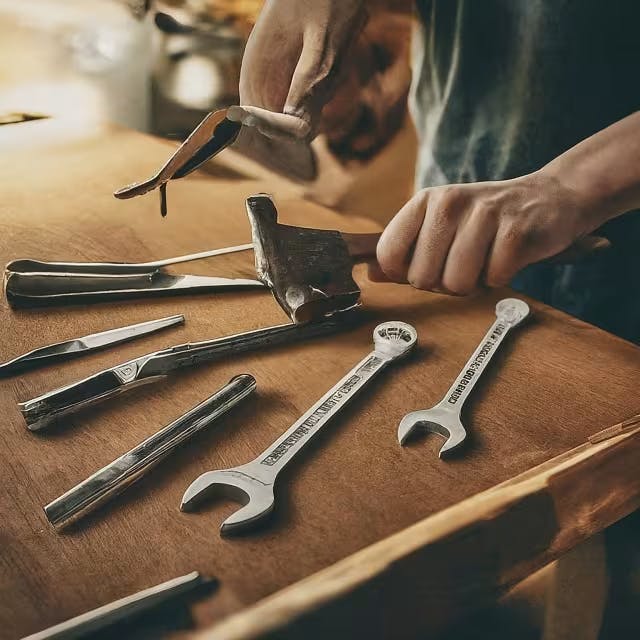
For more detailed instructions on hammer maintenance and tool care, exploring resources on essential tongs for blacksmithing might provide handy insights into tool longevity. Similarly, diving into discussions about professional blacksmith tongs types and uses can help broaden your understanding of tool maintenance within the broader forge work context.
Overall, remember that regular care and timely replacements not only extend the life of your hammer but also ensure safety and efficiency in your work.
Selecting the Right Hammer Wedges for Your Tool
When it comes to maintaining your hammer, selecting the right wedges is just as vital as the handle itself. Hammer wedges come in various sizes and materials, each designed to secure the handle within the hammer head effectively. Using the correct wedge ensures your tool remains safe and reliable, providing the necessary tension to keep the handle snug and prevent it from becoming loose over time.
Steel Wedges: These are the most common type, providing strong and durable hold. Ideal for heavy-duty use, they ensure the handle is firmly attached to the head.
Wooden Wedges: Used alongside steel wedges for a tighter fit, wooden wedges expand within the head for an additional layer of security.
Aluminum Wedges: Lighter than steel, aluminum wedges are easier to insert and adjust, suitable for lighter hammers and those preferring a less permanent solution.
Each type of wedge has its place, depending on the hammer's purpose and the user's preference. For a comprehensive guide on how to safely replace and care for hammer handles and wedges, including detailed instructions and best practices, delve into resources like this expert article on flatters and set hammers, which emphasizes the precision and care required in blacksmithing tools.
In essence, the key to a well-maintained hammer lies in the details. Proper selection and installation of the right type of wedge not only prolong the life of the tool but also ensure its safety and efficiency.
The Importance of Proper Hammer Handle Care
Caring for your hammer handle and wedges ensures your tool remains both safe and efficient. Regular inspection is key. Look for cracks, splinters, or signs of wear that could compromise safety. If your hammer is part of your daily toolkit, consider incorporating this check into your routine maintenance. When damage is noted, opting for a replacement is often the best course of action.
Choosing the right replacement involves understanding the material options available. Traditional wood handles offer shock absorption and comfort but may require more frequent replacements than their fiberglass or steel counterparts. When fitting a new handle, ensure it sits tightly within the hammer’s head. This is where wedges come into play. They secure the handle, preventing movement that can lead to wear or accidents.
For those exploring in-depth techniques on tool maintenance or considering upgrading their forging tools, exploring resources on the best blacksmith hammers for optimal control and durability can provide valuable insights.
Proper care extends the life of your hammer, ensuring it's ready and reliable for every project.
Step-by-Step Guide to Replacing Your Hammer Handle
To ensure your hammer remains a reliable tool in your projects, replacing a worn or broken handle is a task you'll likely face.
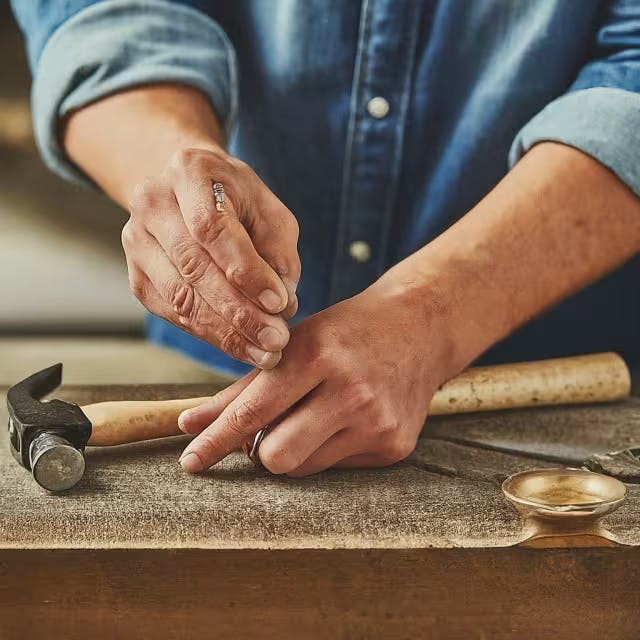
First, remove the old handle by sawing off its exposed part near the hammer's head. Then, gently work the remaining piece out by using a punch and hammer.
Once removed, clean any debris from the hammerhead's eye to prepare it for the new handle.
Choose a handle compatible with your hammer type. Handles come in various materials, each offering different benefits. Wood is classic and absorbs impact well, while fiberglass and steel provide durability and require less maintenance.
Next, insert the new handle into the hammerhead's eye. It should fit snugly; if not, sand it down for a tighter fit.
Secure the handle with the appropriate wedges. Start with a wooden wedge, driving it down into the split end of the handle. This expands the wood, ensuring a tight fit. Then, add a metal wedge diagonally across the wooden wedge for extra security.
Finally, trim any excess material from the end of the handle for a neat finish.
A well-maintained hammer with a securely fitted handle ensures safety and effectiveness in your projects. For those seeking more information on maintaining their forging tools, consider exploring essential hand tools that complement your hammer, enhancing both craftsmanship and efficiency.
Tips for Maintaining Hammer Handles and Wedges
When your hammer feels a bit loose or you're swapping it from a summer to a winter hammer due to humidity changes, consider the process Lost Art Press recommends. They add an extra metal wedge to their Crucible Lump Hammer to ensure a tight fit, even with heavy use. The idea is simple: clamp the handle, place the new wedge perpendicular to the original, and then drive it in. Yes, the hickory might crack, but that's part of the charm. Sanding or filing can clean up any rough edges for an in-depth look, see their walkthrough.
For those passionate about the craft, pairing your hammer with the right maintenance tips can extend its life significantly. This includes selecting the right hammer for the job, as different projects require different tools. Discovering the perfect smithing hammer, for instance, involves considering weight, material, and handle—a combination that ensures durability and efficiency Find the best rounding hammers here.
Lastly, remember that maintenance doesn't stop at the handle and wedge. Regular checks for signs of wear and appropriate storage can keep your hammer in top condition for years. This might mean having a set for different seasons if humidity is a concern in your area. The key takeaway is that with a little care and the right technique, you can maintain the integrity and performance of your hammer, making every project a little easier. In conclusion, understanding the nuances of hammer handles and wedges, and undertaking their proper replacement and care, is paramount for both amateur and professional tool users. By being mindful of the signs that indicate the need for replacement, selecting the right materials, and following thorough maintenance routines, you can ensure that your hammer remains a reliable and efficient part of your toolkit. Proper attention to these aspects not only guarantees safety during use but also extends the lifespan of your tool, making it a wise investment in the long run.
Frequently Asked Questions
How can you tell when it's time to replace your hammer's handle and wedges?
You'll know it's time to replace your hammer's handle and wedges when you notice cracks or splits in the handle, the handle feels loose in the hammer head, or the grip area is worn or softened. Replace any damaged components immediately to ensure safety and maintain control during use. Select the appropriate materials for your handle and wedges, considering your usage demands and the benefits of different materials like wood for shock absorption, or fiberglass and metal for durability.
What are the steps to securely fit a new handle and wedge in your hammer?
To securely fit a new handle and wedge in your hammer, first remove the old handle and clean the hammerhead's eye. Choose a handle that suits your needs—wood, fiberglass, or metal—and ensure it fits snugly in the eye. Insert the handle, then secure it with the correct-sized wedges, typically starting with a wooden wedge followed by a steel or aluminum wedge for added security. Trim any excess handle material for a clean finish. Regular care, including choosing the right materials and using the correct wedges, extends the life and efficiency of your hammer.
What materials are available for hammer handles, and how do you choose the right one?
Hammer handles are typically made from wood, fiberglass, or metal. Wooden handles are valued for their shock absorption and traditional feel but require more maintenance to avoid splitting. Fiberglass and metal handles offer durability with less maintenance but may transfer more vibration to the user. When choosing the right handle, consider your usage demands and personal preference for maintenance and comfort.
How do different types of wedges enhance the safety and efficiency of your hammer?
Different types of wedges enhance the safety and efficiency of a hammer by ensuring a secure fit between the handle and the hammerhead, preventing the handle from becoming loose during use. Steel wedges provide a strong, durable hold ideal for heavy-duty applications, while wooden wedges offer an additional layer of security by expanding within the head. Aluminum wedges are lighter and easier to adjust, making them suitable for lighter hammers or those seeking a less permanent solution. The proper selection and installation of wedges keep the hammer reliable for various projects.
What routine care practices can extend the life and effectiveness of your hammer?
To extend the life and effectiveness of your hammer, regularly inspect for signs of wear, such as cracks in the handle or a loose fit with the hammerhead. Replace worn or damaged handles promptly, choosing the right material—wood for shock absorption, fiberglass, or metal for durability—and ensure a snug fit with the appropriate wedges. Maintaining the correct wedges, whether they are steel for a strong hold, wooden for a tighter fit, or aluminum for lighter use, plays a crucial role in keeping your tool secure and reliable.

